Save the Dates are a necessary evil that most couples often overlook, but serve as the first impression of the wedding for guests. While most couples settle on a simple photo card or Facebook invite, Joe and I wanted to take our time to create something unique that will serve as a glimpse into what our wedding will be like.
Even though most people already know the special date via the grapevine of our gossipy families or social media, save the dates are something our families/friends will be able to hang on their refrigerator for the next 6 months to casually remind themselves to book hotel rooms and prepare to rage.
Joe and I decided to look through sample invitations online and in specialty paper stores, such as Paper Source, to get a feel for what each other liked/disliked about various design elements. We were inspired by our venue, which is adorned in gold, and wanted a design that reflected elegance with a lot of party.
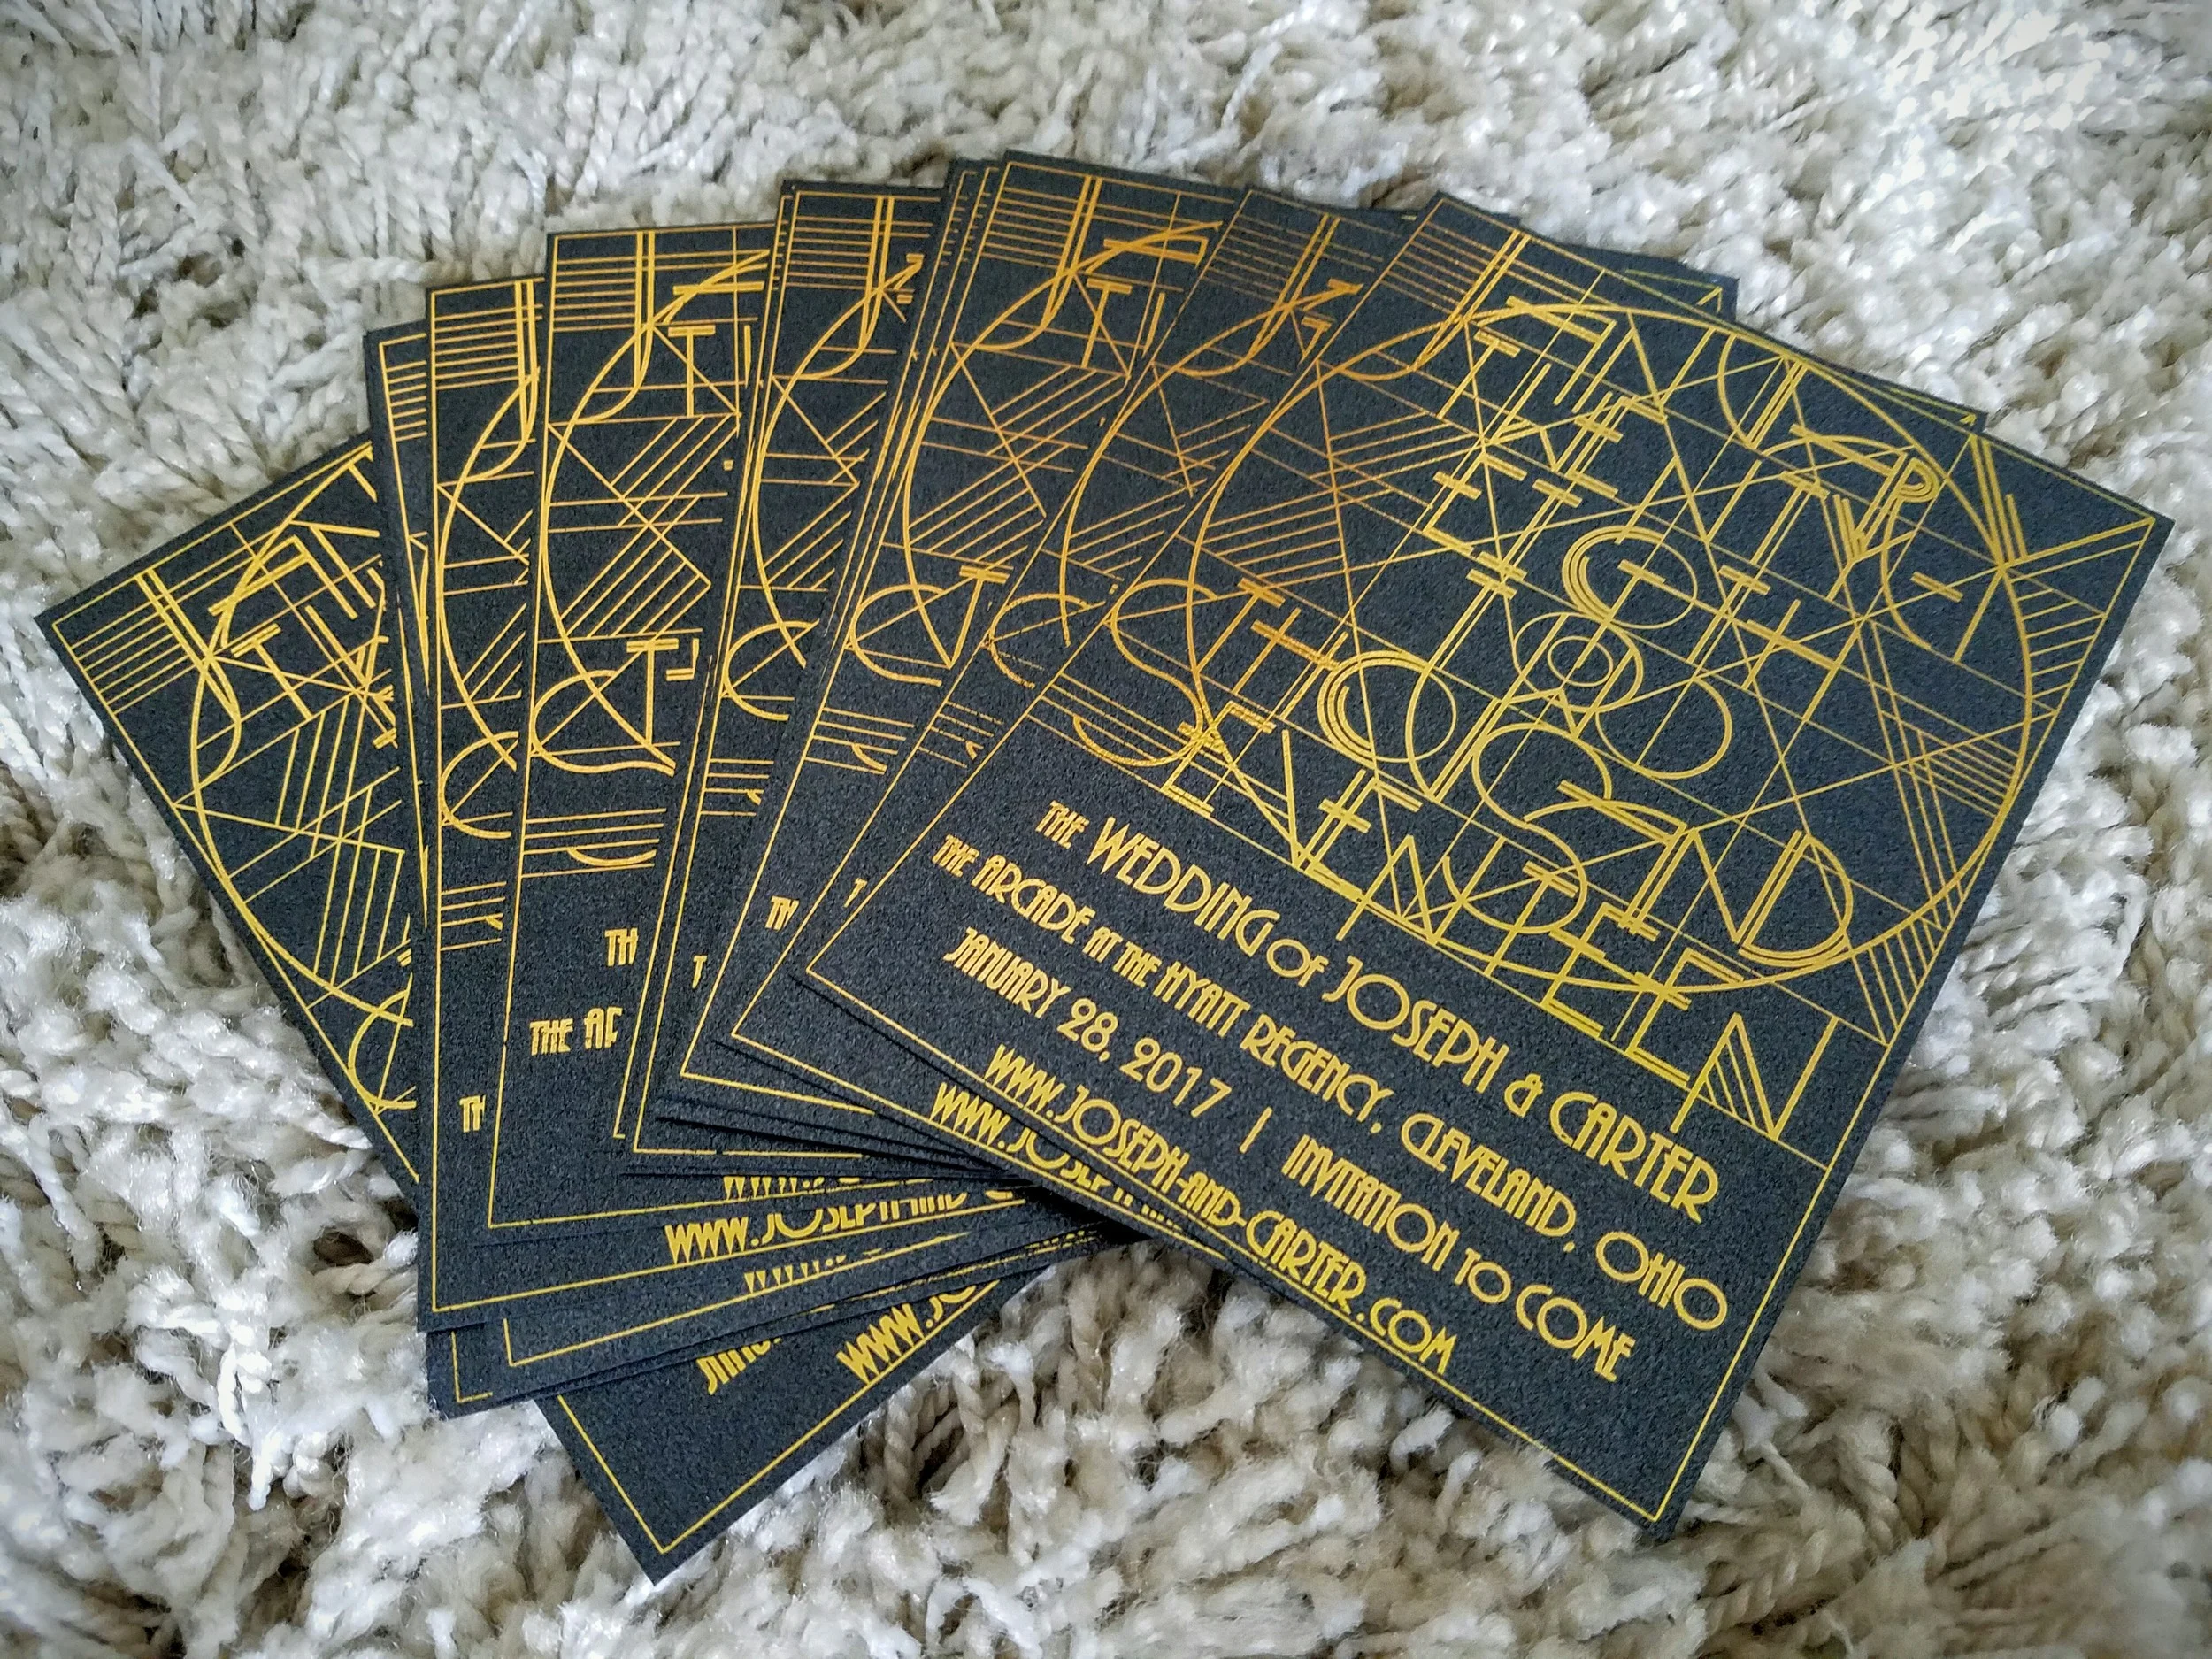
I drafted up a few designs in Adobe Illustrator and ordered a bunch of paper samples from PaperandMore.com. We ultimately decided on a linear art deco style and found a super easy way to apply the gold foil ourselves using a cheap laminator and some gold toner-reactive foil.
We printed the designs on standard size black metallic cardstock at Kinko's, cut them down to size, placed gold foil over the image, and sent them through the laminator. The foil adheres to standard toner when heated by the laminator, allowing for an easy way to incorporate a little gold, glitz, and glam.
By creating the save the dates ourselves, we are saving quite a bit of money to spend on other unnecessary things. Save the dates typically cost anywhere between $1-$3 per invite, plus postage, which means couples are looking at a total of $200-$600. We spent <$100 with postage making up most of it. #winning
Even though it took a couple weeks to perfect, making the save the dates were a lot of fun. Besides, we all know how much I like shiny objects; so, I was in heaven.